Fishing Knots
The knots I tie, what line they work on, and how to tie them.
Nearly every knot below says to wet the line before you pull it tight. Here's why that matters.
Line to hook or lure
The knot that ties you to the fish
Palomar Knot
Easy to tie
Line to a hook, lure or swivel
Tying braid to a hook, lure or swivel. Works on mono and fluoro too.
The line is doubled through the eye, so two strands share the load instead of one.
The whole hook or lure has to pass through the loop, so make the loop big enough before you tie the overhand knot.
How to tie it — 5 steps
Double a few inches of line into a loop and push the loop through the hook eye.
Tie a loose overhand knot with the doubled line, letting the hook hang from the bottom. Don't tighten it yet.
Pass the loop over the whole hook or lure, so it ends up above the eye.
Wet the line, then pull the main line and the tag together so the knot closes down onto the eye.
Make sure the knot sits on the eye, not down on the shank, then trim the tag.
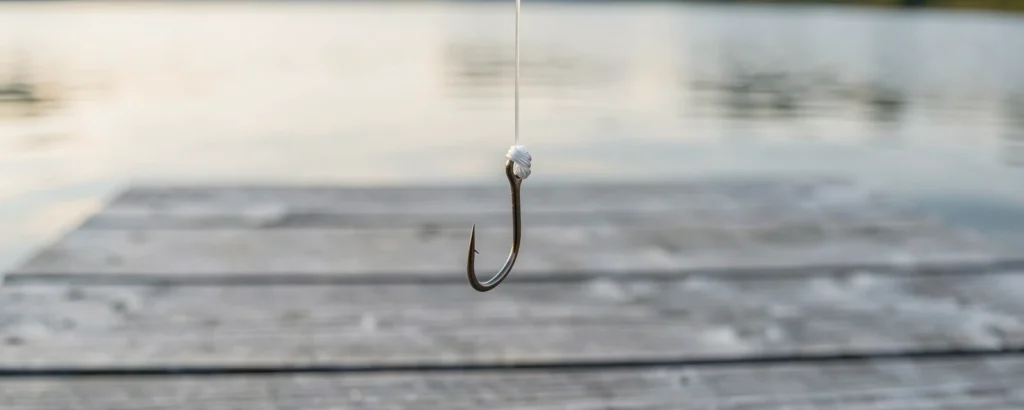
Uni Knot
Also called Duncan loop, Grinner knot
Easy to tie
Line to a hook, lure or swivel
Line to a hook, swivel or lure. Leave a small gap before sliding it down and it becomes a loop knot.
The wraps grip a doubled line inside their own loop, so the pull is spread along the whole barrel.
On braid, make 7 to 10 wraps instead of 5 or 6. Braid is slicker than mono and needs the extra grip.
How to tie it — 5 steps
Pass the line through the eye, pull through about 6 inches, and lay the tag back along the main line.
Bring the tag up and back toward the hook, crossing over both lines, so it makes a full loop.
Working inside the loop, wrap the tag around both lines: 5 or 6 times on mono or fluoro, 7 to 10 times on braid.
Wet the line, then pull the tag to draw the wraps into a tight barrel. Don't slide it yet.
Pull the main line so the knot slides tight against the eye. Trim the tag to about 1/8 inch.
Improved Clinch Knot
Easy to tie
Not for braid — it slips.Line or tippet to a hook, lure, swivel or fly
Mono or fluoro to a hook, lure or swivel.
The twists grip the main line on mono and fluoro. Braid is too slick for them to bite.
Fishing braid? Tie a Palomar instead. Braid doesn't grip itself the way mono does, so this knot can slip.
How to tie it — 5 steps
Pass the line through the eye and pull through enough tag to make the wraps.
Wrap the tag around the main line 5 times, working away from the hook. On heavier line, 4 wraps is enough.
Bring the tag back toward the hook and pass it through the small loop right beside the eye.
Now pass the tag back through the big loop you just made. This extra tuck is the "improved" part.
Wet the knot and pull the tag to snug the coils down against the eye. Trim the tag.
Non-Slip Loop Knot
Also called Kreh loop, Non-Slip Mono loop
Medium to tie
Line or leader to a lure or fly, with a small open loop
A small fixed loop at a lure or fly, so it can swing and move more naturally instead of being pinned to the knot.
The wraps bite around the main line, and the overhand knot locks the loop at the size you set.
Set the loop size while the wraps are still loose. Once the knot is pulled tight, the loop can't be changed. Tie it in mono: in NetKnots' strength tests, non-slip loop knots tied in fluorocarbon broke well below the line's rated strength.
How to tie it — 5 steps
Tie a loose overhand knot in the line, about 10 inches from the end. Don't tighten it.
Pass the end through the eye, then back through the overhand knot, alongside the line where it comes out of the knot.
Wrap the end around the main line 4 or 5 times. Light line takes more wraps, heavy line fewer.
Bring the end back through the overhand knot, going in on the same side it came out before.
Slide the knot to the loop size you want while the wraps are still loose. Wet it, pull the end to snug the wraps, then pull the main line and the loop apart to seat it. Trim the end.
Line to line
Joining a leader to your main line or fly line
Double Uni Knot
Also called Double Grinner
Medium to tie
Braid to a mono or fluoro leader
Joining braid main line to a mono or fluoro leader.
Two Uni knots, one tied with each line around the other, slide together and lock.
Make more turns on the braid side than on the leader side. Braid is slicker and needs the extra grip.
How to tie it — 6 steps
Lay the end of the braid and the end of the leader side by side, pointing opposite ways.
Bring the braid's end back to make a loop, then wrap it around both lines inside the loop. Make about 8 wraps with braid.
Wet it and pull the braid's end so the wraps close into a barrel. Don't slide it yet.
Do the same with the leader's end, wrapping around both lines inside its own loop. About 5 wraps with mono or fluoro.
Pull the leader's end so its wraps close into a barrel too.
Wet the line, then pull the braid and the leader in opposite directions so the two knots slide together. Trim both ends close.
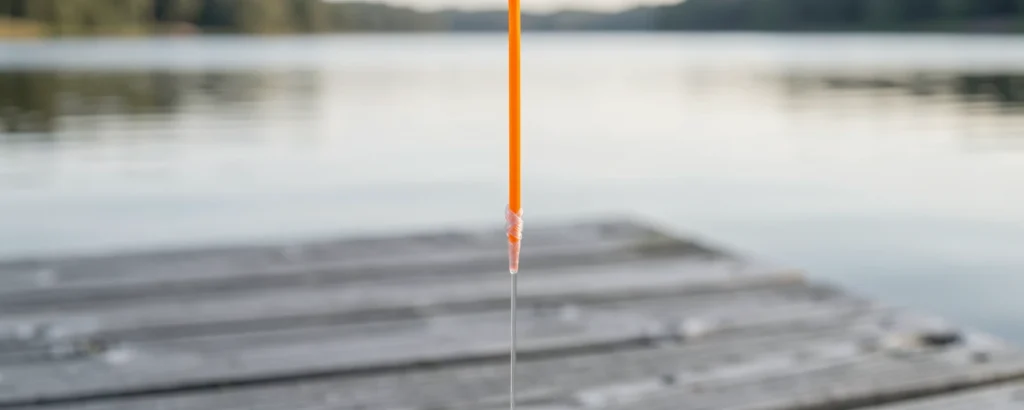
Nail Knot
Medium to tie
Fly line to leader, or backing to fly line
Joining the leader to your fly line, or the backing to the fly line. Good for joining two lines of different thickness.
The leader's wraps cinch down on the fly line, and the finished knot is slim enough to run through the rod guides.
No nail? A coffee stirrer or a short piece of drinking straw works as the tube.
How to tie it — 4 steps
Lay a small tube (or a nail) along the end of the fly line. Lay the end of the leader alongside, leaving 10 to 12 inches of tag.
Wrap the leader's tag back over the fly line, the leader and the tube, 6 to 8 close wraps, working toward the leader.
Pass the tag end through the tube, from the side where the wraps finished.
Hold the wraps and slide the tube out. Pull the tag to snug the coils, then pull the tag and the leader to seat the knot on the fly line. Trim the tag close.
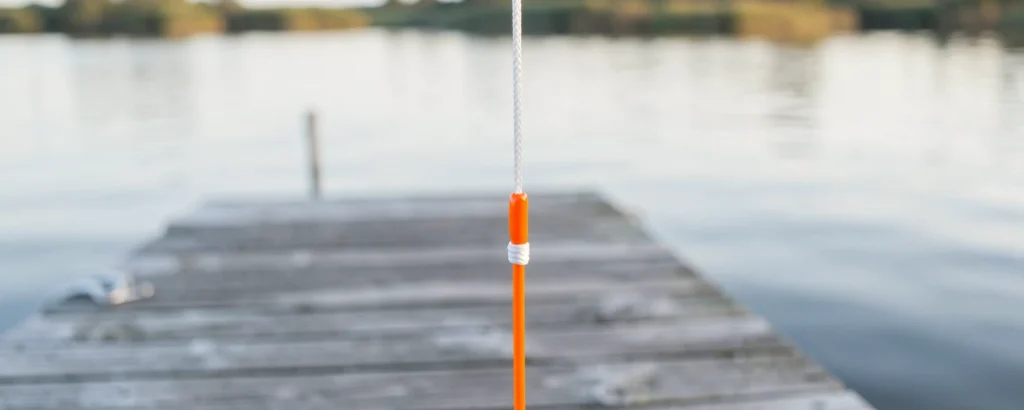
Albright Knot
Also called Albright Special
Medium to tie
A thin line to a much thicker one: backing to fly line, or braid to a mono leader
Joining two lines of very different thickness or material, like backing to fly line or braid to a mono leader.
The thin line's wraps clamp down on both sides of a loop in the thick line, so a thin line can grip a much thicker one.
Pinch the lines between your thumb and finger while you wrap, and keep the wraps neat and close together.
How to tie it — 4 steps
Fold the end of the heavier line back into a loop. Push about 10 inches of the lighter line through the loop.
Pinch the three lines together. Wrap the lighter line back over itself and both sides of the loop, 10 tight wraps, working toward the end of the loop.
Feed the tag end back through the loop so it comes out on the same side it went in.
Hold both ends of the heavier line and slide the wraps toward the end of the loop. Wet the knot, pull the lighter line to tighten, and trim both tags close.
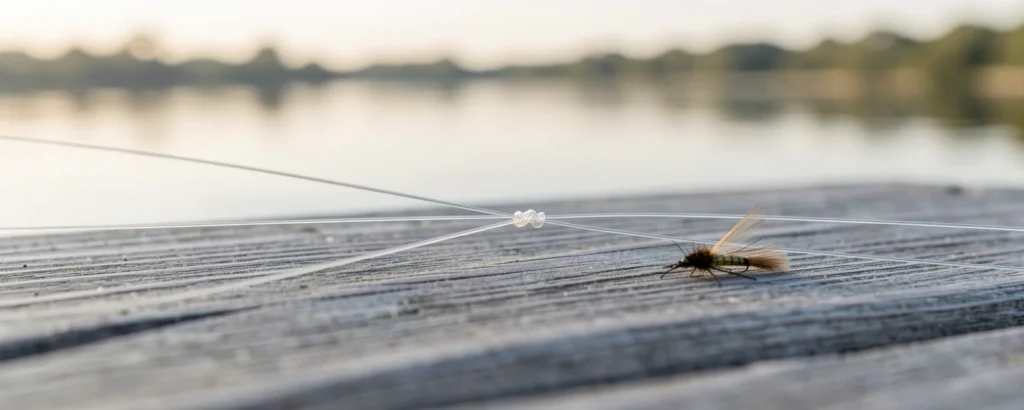
Surgeon's Knot
Easy to tie
Leader to tippet
Adding tippet to a leader. Works whether the two lines are close in thickness or very different.
It's a double overhand knot tied in both lines at once, so each line locks the other in.
Easier to tie than a Blood knot, but not as neat.
How to tie it — 4 steps
Lay the leader and the tippet side by side, overlapping by 4 to 6 inches.
Hold the two lines together as if they were one, and form a simple loop. Pinch where the loop crosses.
Pass the leader's tag end and the whole tippet through the loop together, then through a second time.
Wet the knot and pull all four ends tight. Trim both tags close.

Blood Knot
Medium to tie
Two lines of about the same thickness, like sections of a leader
Joining two lines of similar thickness, such as building or repairing a tapered leader.
Each line's wraps grip the other line, and pulling the lines apart draws the two sets of wraps tight against each other in the middle.
Not for lines of very different thickness. Use a Surgeon's knot for those.
How to tie it — 4 steps
Overlap the ends of the two lines and pinch them where they cross.
Wrap one tag end around the other line 5 to 7 times, working away from the middle. Bring the tag back and tuck it between the two lines at the middle.
Wrap the other tag end around the first line the same number of times, in the opposite direction. Tuck it through the same gap from the other side, so the two tags point opposite ways.
Wet the knot and pull the two lines slowly in opposite directions so the wraps gather together. Trim both tags close.
Line to reel
Starting a fresh spool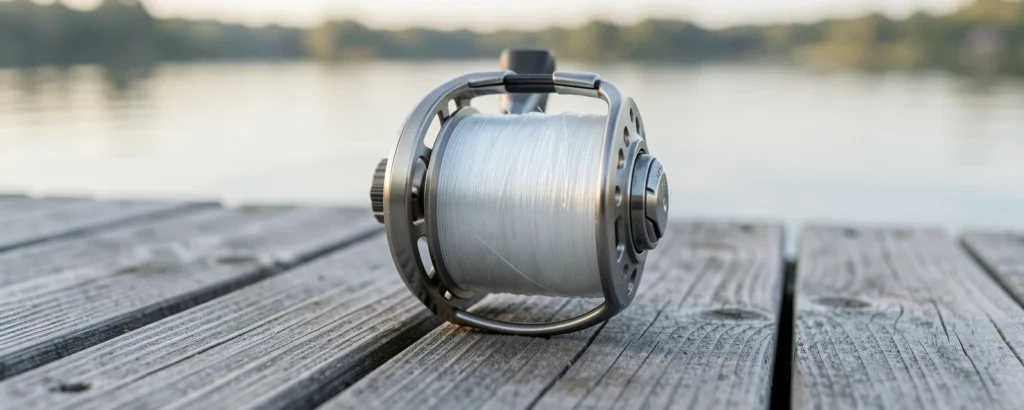
Arbor Knot
Easy to tie
Line or backing to the reel spool
Tying line or backing onto an empty reel spool. Works on spinning, baitcasting and fly reels.
It's a noose, so pulling the main line tightens it onto the spool. The second knot jams against the first so it can't slip back out.
Spooling braid? Braid can spin on a bare spool. Put some mono on first with this knot, then join the braid to the mono with a Double Uni.
How to tie it — 3 steps
Pass the line around the center of the spool (the arbor). With the tag end, tie an overhand knot around the main line.
Tie a second overhand knot in the tag end, close to the first one.
Pull the main line so the first knot slides down tight to the spool and the second one jams against it. Trim the tag close.